How to Insulate a Cold Attic Yourself and What SEAI Grants Are Available
/ by Brendan Walsh / Renovation and Repairs
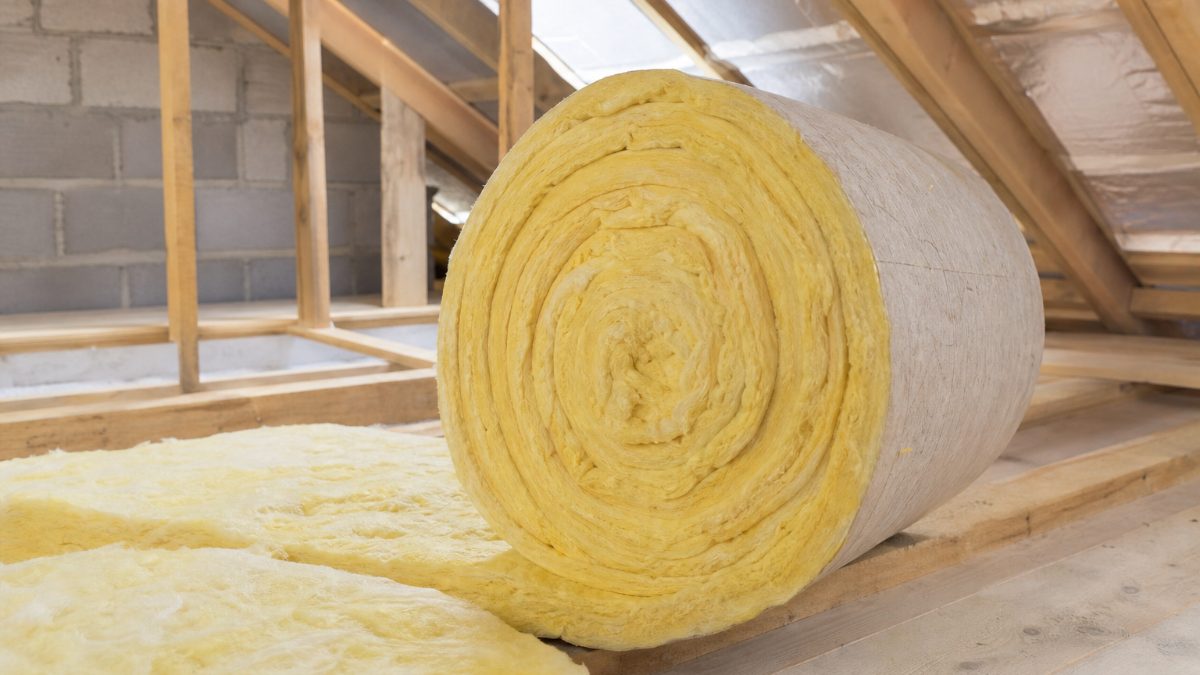
A cold attic is one of the biggest heat thieves in an Irish home. Heat rises, finds the least resistance, and disappears straight through an under-insulated ceiling. The good news is that topping up or laying attic insulation is one of the more manageable DIY jobs for a homeowner who is reasonably handy, and SEAI will give you a grant towards the cost whether you do it yourself or hire someone.
This guide covers what you need to know before you start, how to choose between the two main insulation types, and how to actually get the work done on a standard joisted attic floor with a hatch.
Before You Go Up There
Check the basics first. You need enough headroom to move around safely, boarding across at least some of the joists so you are not putting your foot through the ceiling below, and a decent light source. A head torch beats a handheld lamp every time up there.
Look for obvious problems before you start laying anything. Signs of a water leak around the roof timbers, daylight showing through where it should not, or old damp patches on the felt mean you sort those first. Covering a damp problem with insulation just locks the moisture in. If you are unsure whether you have a damp issue spreading from the roof or the walls, it is worth reading about what rising damp actually looks like before you commit to any materials, since the causes and fixes are quite different.
Also check what you already have. Older houses often have about 100mm of old fibreglass roll between the joists. The current recommended depth is around 270 to 300mm total, so many homes simply need a top-up rather than a full reinstall.
Loose-Fill or Roll Insulation: Which One to Choose
Both are effective. The choice usually comes down to your attic layout and your patience.
Mineral Wool Roll
This is the most common choice for a DIY job. It comes in rolls, typically 100mm thick, and you lay one layer between the joists and then a second layer at 90 degrees across the top of the joists. The cross-lay fills the cold bridge that the joists themselves create. It is straightforward to handle, widely available in builders' providers and large DIY sheds, and you can cut it with a bread knife or a good handsaw.
The main irritation is that it sheds fibres as you work. Wear a decent dust mask, safety glasses, and long sleeves. It is not dangerous if you take basic precautions, but working in a hot attic in June in long sleeves is exactly as pleasant as it sounds.
Loose-Fill (Blown Insulation)
Loose-fill insulation, usually cellulose or mineral wool granules, is blown into place and settles to fill every gap and awkward angle automatically. It works particularly well in attics that have lots of pipes, cables, narrow bays between joists, or old existing insulation that you want to work around.
You can hire a blowing machine from some hire shops, and the insulation bags usually come with a guide to coverage depth. It is faster once you get going, but controlling the material in a small or draughty attic takes a bit of practice. It also needs to be kept dry, so if there is any question about the roof above, sort that before you use loose fill.
For a standard rectangular attic with no major obstacles, most people find roll easier to manage solo. For anything more complicated, loose-fill saves a lot of frustration.
Doing the Job: Step by Step
- Clear the attic floor as much as you can. Move stored boxes and anything resting on the existing insulation.
- Check and seal gaps around light fittings, pipes, and the attic hatch frame. Use fire-rated foam or mineral wool to block draughts at the eaves and around any penetrations. This matters more than people realise. Warm air leaking through gaps does more damage than a thin insulation layer.
- Top up between the joists first if you are using roll. Lay the first layer flush with the top of the joists.
- Lay the second layer across the joists at 90 degrees, bringing the total depth to around 270 to 300mm. Do not compress the material. It insulates through trapped air, so squashing it reduces its effectiveness.
- Insulate the attic hatch. This is the bit most people forget. The hatch itself loses a surprising amount of heat. Glue or staple a piece of rigid insulation board to the back of the hatch door, at least 50mm thick, and fit draught-sealing strip around the frame. If you have a timber frame hatch, this can make a noticeable difference on its own.
- Leave the eaves clear. Do not block the ventilation gap at the eaves. Attics need airflow to prevent condensation on the timbers. Use eaves trays if the insulation is likely to spill into the gap.
- Avoid covering pipes that need to stay above the insulation layer for frost protection, particularly cold water tanks if you have one.
The SEAI Better Energy Homes Grant
SEAI runs the Better Energy Homes scheme, which offers grants for attic insulation among several other measures. The current grant for attic insulation is in the region of 1,500 euro for a standard home, though the exact figure can change and your property type affects eligibility, so check the SEAI website directly for the current amounts before you budget.
The grant applies whether you hire a registered contractor or in some cases manage the work yourself, but the insulation must be installed by an SEAI registered contractor to qualify. That means DIY work does not qualify for the grant, which is a genuine consideration. If the grant amount covers a significant portion of a contractor's quote, having it done professionally may end up costing you less out of pocket than buying materials and doing it yourself.
To apply, you register on the SEAI Better Energy Homes portal before the work starts, not after. That is the step people miss. You cannot apply retrospectively.
If you are doing a wider renovation and thinking about how grants, contractors, and DIY trade-offs interact across different jobs, the question of whether to hire a general builder or manage your own trades is worth thinking through before you commit to either route.
Either way, get a few quotes from SEAI registered contractors before you decide. The price difference between doing it yourself and having it done can be smaller than you expect once the grant is factored in, and a good insulation contractor will also spot any ventilation or structural issues that a first-time DIYer might miss on the way up the attic ladder.