How to Regrout a Shower Without Removing the Tiles
/ by Brendan Walsh / Floors, Tiles and Bathrooms
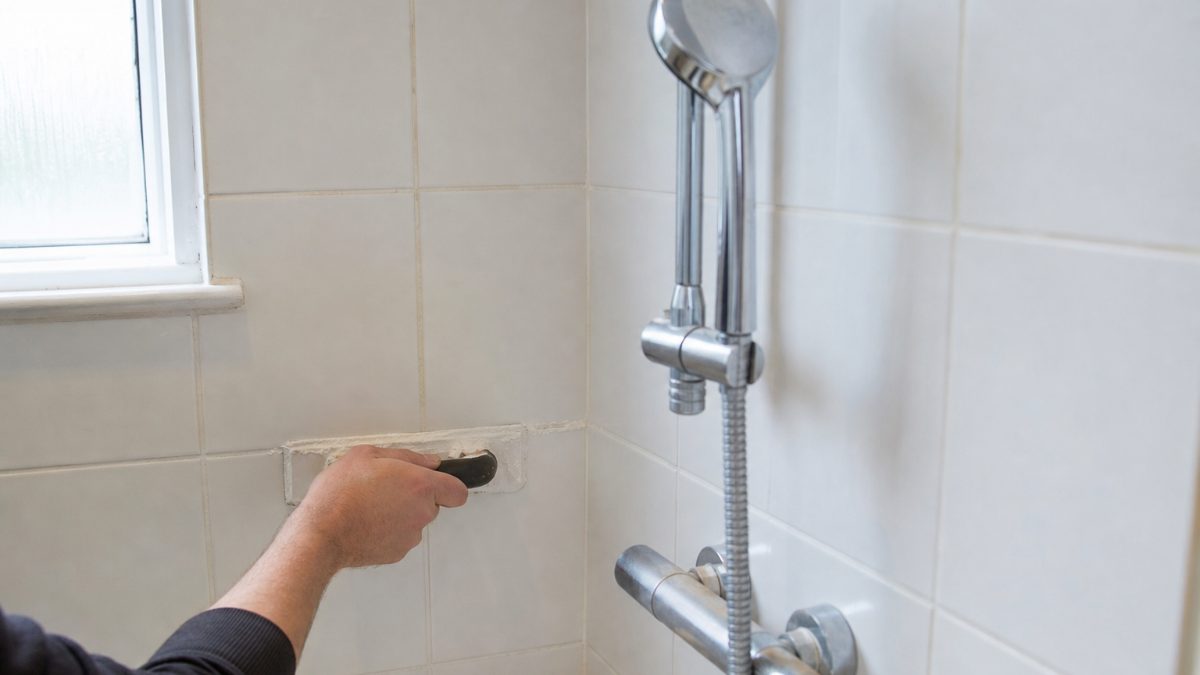
Regrouting a shower sounds like a big job, but if the tiles themselves are still solid and well-fixed, you do not need to touch them. The grout is the problem, not the tiles. Old grout goes dark, cracks, or starts to crumble, and no amount of scrubbing will bring it back. The fix is to take it out and replace it, and with the right tool it is a Saturday job rather than a week-long ordeal.
What you will need
- Oscillating multi-tool with a grout removal blade
- Safety glasses and a dust mask
- Stiff brush or vacuum
- Epoxy grout (premixed is easiest for small areas)
- Grout float
- Bucket and sponge
- Painter's tape
- Grout sealer (if you go with standard cement grout instead)
Epoxy grout costs more than standard grout, roughly two to three times as much, but in a shower it is worth it. It does not absorb water, it resists staining, and you will not be doing this job again in four years. If you are tiling a floor with heating underneath, the same principle applies, and there is more on what to consider with tiled heated floors if that is relevant to your bathroom.
Step 1: Remove the old grout
This is where the oscillating tool earns its money. Fit the grout removal blade, set it going, and work it steadily along each grout line. Keep the blade in the joint and do not press hard into the tile face. You are aiming to get the grout out to a depth of about two millimetres, maybe three. You do not need to clear it right back to the substrate.
Go slowly around corners and edges. The blade can nick a tile edge if you rush it. Expect dust. Expect noise. Open a window if you can and wear the mask.
Step 2: Clean out the joints
Once the grout is loosened, run a stiff brush along every joint and then vacuum the whole area. Any loose bits left in the joint will stop the new grout bonding properly. Wipe down the tiles with a damp cloth and let everything dry fully before moving on. If the shower has been used recently, give it a few hours.
Step 3: Apply the epoxy grout
Tape off any fixtures or fittings you do not want grout on. Mix the epoxy grout according to the packet instructions, or open your premixed tub, and apply it with the grout float at a forty-five degree angle, pushing it firmly into the joints. Work in small sections, maybe half a square metre at a time, because epoxy grout sets faster than cement grout and you do not want it skinning over before you can clean it.
Pack each joint fully and do not leave gaps or hollows.
Step 4: Clean off the excess
This is the step people underestimate. Epoxy grout haze on tiles is stubborn once it sets. Use a damp sponge and rinse it often. Work diagonally across the joints so you are not dragging grout back out of them. You will likely need two or three passes. Some people swear by a bucket of warm water with a small splash of white vinegar for the final wipe.
Step 5: Leave it alone
Do not use the shower for at least twenty-four hours. Epoxy grout is tough once cured but it needs that time. Check the lines the next day and if any spots look thin or pitted, mix a small amount and touch them up before the week is out.
The whole job, tiles untouched, grout brand new, is very achievable in a day. The oscillating tool is the bit most people do not own, but they are widely available to hire, and once you have done this once you will find about fifteen other uses for it around the house.