Underfloor Heating Under Tiles: What They Don't Tell You Until It's Too Late
/ by Brendan Walsh / Floors, Tiles and Bathrooms
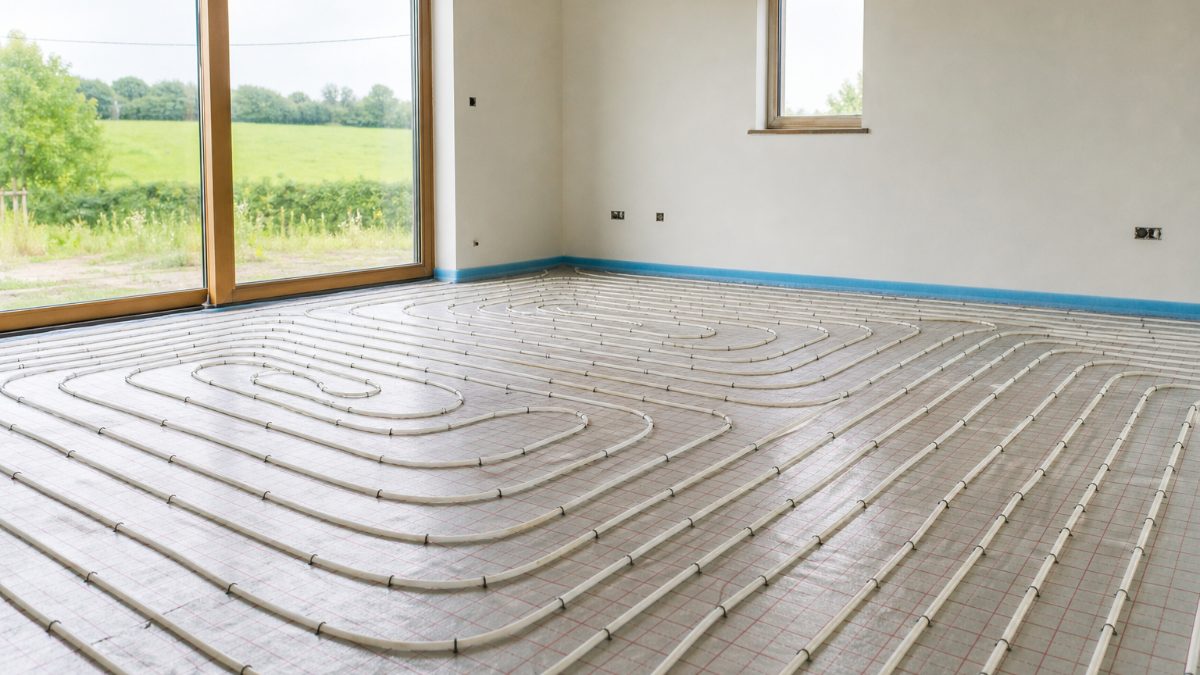
Underfloor heating under tiles sounds like a straightforward upgrade. You put the mat down, tile over it, turn it on, done. That is roughly what I thought before watching a tiler have to lift a brand new porcelain floor six weeks after it went down. The tiles had cracked in a diagonal line across two of them, and the cause was nothing dramatic. It was a sequence of small decisions, each one reasonable on its own, that added up to a failure.
Here is what actually goes wrong, and what to do instead.
The adhesive problem nobody mentions at the counter
Standard tile adhesive is not suitable for use over electric underfloor heating mats. Full stop. It has a different flex rating and does not cope well with the repeated expansion and contraction that happens every time the heating cycles on and off. You need a flexible, polymer-modified adhesive, sometimes labelled as a class C2S1 or C2S2 on the bag. The difference in cost is small. The difference in outcome is not.
Large-format porcelain tiles make this worse. A 600x600mm or larger tile behaves like a rigid plate. Any movement underneath it, however slight, travels across the whole tile rather than dissipating. If the adhesive is not flexible enough to absorb that movement, the tile takes the stress instead. Then it cracks, usually somewhere near the middle or along a grout joint, and you are looking at the whole floor coming up.
Laying the mat before you have checked the floor level
Electric heating mats add a few millimetres to your floor height. That sounds manageable until you remember the door thresholds, the skirting gaps, the shower tray lip, or the step down into an adjacent room. Getting the mat down and then realising you have a problem is an expensive moment to have that realisation.
Check your finished floor height before anything else. Measure from the subfloor up, accounting for the mat thickness, the adhesive bed, and the tile itself. If you are going from a cold floor to a heated one in a bathroom renovation, it is worth thinking this through the same way you would any other build-up change.
Not letting the adhesive cure before turning on the heat
This is the one that catches people most often. The mat is down, the tiles are set, everything looks fine, and so the heating gets switched on after a day or two to test it. The adhesive is still green, meaning it has not fully cured, and the heat drives moisture out of it too quickly. The bond weakens before it has properly formed.
Most adhesive manufacturers specify a minimum cure time before the heating should be turned on, often around 28 days for the full cure, though some fast-setting products reduce this. Read the data sheet, not just the bag. And then when you do start the heating, do it gradually. Start at a low temperature for a few days, then step it up slowly. Thermal shocking a fresh tile installation is a reliable way to cause cracking at the grout joints.
Skipping the uncoupling membrane
On a subfloor that has any flex in it at all, whether that is a suspended timber floor, a slightly uneven screed, or anything that moves underfoot, an uncoupling membrane between the screed and the tile is worth every cent. It isolates the tile layer from movement in the substrate and gives the adhesive a stable surface to bond to. With underfloor heating in the mix, that isolation matters even more.
It adds cost and a bit of height, so people skip it. But if your subfloor is not perfectly rigid and flat, leaving it out is a gamble you are likely to lose.
The honest summary is that electric underfloor heating under large tiles is not complicated, but it is unforgiving of shortcuts. Use the right adhesive, check your levels first, let everything cure properly, and bring in a tiler who has actually done this combination before, not just one who has laid plenty of tiles.