How to Lay a Block-Paved Driveway Yourself Over a Weekend
/ by Brendan Walsh / Driveways and Groundworks
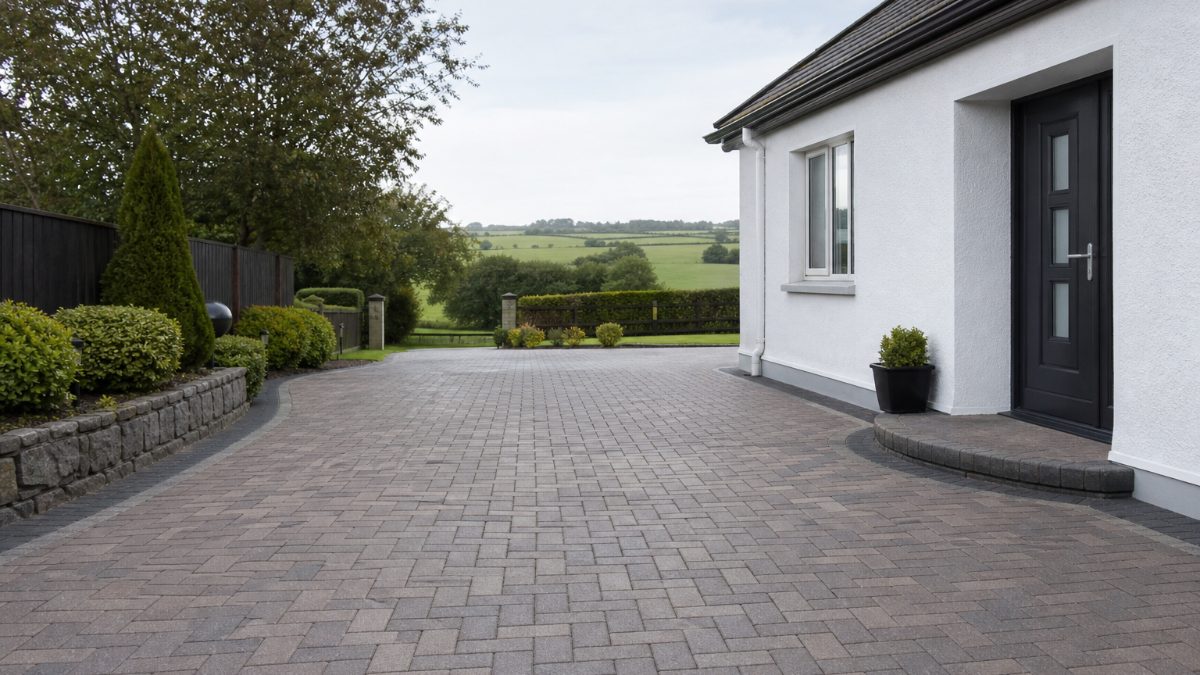
Block paving is one of those jobs that looks complicated until you break it down into stages. The groundwork is the part that matters most. Get that right and the blocks almost lay themselves. Rush it, and you will be lifting sections again inside two winters.
This walkthrough covers a standard residential driveway, the kind of single or double-width job most Irish homes would have. If you have a decent level of DIY confidence, access to a hired plate compactor, and a free weekend, it is well within reach.
What you will need
- Plate compactor (hire one, do not borrow a hand tamper and hope for the best)
- Spade, mattock, and a decent wheelbarrow
- MOT Type 1 or Type 3 sub-base material (crushed stone)
- Sharp sand for bedding
- Concrete edging restraints and haunching mix
- Block paving bricks in your chosen style
- Kiln-dried jointing sand
- Screed rails and a straight timber or aluminium screed board
- String lines, a spirit level, and a rubber mallet
- Block splitter (hire if possible, an angle grinder works for cuts but takes longer)
Step 1: Mark out and excavate
Mark the full area with string lines and pegs. Check your levels at this point. You want the finished surface to fall away from the house at roughly a 1 in 60 gradient, which is about 25mm for every 1.5 metres. This matters a lot in Ireland where the rainfall does not give you much margin.
Excavation depth depends on what the driveway needs to carry. For a standard car or two, dig down around 200 to 230mm below your intended finished surface. That gives you room for approximately 150mm of compacted sub-base, 50mm of bedding sand, and the block itself which is usually 60 to 80mm thick.
Remove all topsoil and organic material. You cannot compact over soft ground and expect it to stay put.
Step 2: Install edging restraints
This step gets skipped or done last by people who then wonder why their blocks spread and sink at the edges. Edging restraints go in first, before any sub-base, so they are properly founded.
Lay a strip of concrete mix along the outer perimeter of the excavated area. Bed your concrete kerb edging into it, keeping the top of the edging at the correct finished height using your string lines. Haunch both sides with concrete, bringing it up to roughly two thirds the height of the edging. Leave it to cure overnight or at least four to five hours before you compact the sub-base against it. If you haunch and immediately start throwing stone on top, you will knock the edging out of line.
Step 3: Lay and compact the sub-base
Fill in with your Type 1 sub-base material in layers no deeper than about 75 to 100mm at a time. Run the plate compactor over each layer thoroughly before adding the next. Two passes in perpendicular directions is better than one pass back and forth.
The sub-base is what gives block paving its structural integrity. Ireland's ground conditions vary considerably depending on your county and the composition under your garden, so if you are sitting on particularly soft or boggy ground, go deeper rather than shallower. Some groundwork contractors here put down 200mm of compacted stone just as a matter of course.
Check your levels as you build up. You want the compacted sub-base sitting at roughly 50 to 55mm below your intended finished surface to allow for the sand bed and block.
Step 4: Screed the bedding sand
Sharp sand is the material here, not building sand or soft sand. It needs to be slightly damp but not wet. If you squeeze a handful and it holds its shape but does not leave moisture on your palm, it is about right.
Lay your screed rails parallel to each other across the sub-base, set at the right height so the top of the sand sits at exactly the right level to bring your blocks flush with the edging when laid. Pull the screed board across the rails to leave a smooth, even bed. Work in manageable sections so you do not stand on the screeded sand before the blocks are down.
Do not compact the sand before you lay blocks. Leave it loose and level.
Step 5: Lay the blocks
Start from a straight edge, usually along the house or along the kerb line you have already established. Work outward from a corner. Use a herringbone pattern for driveways rather than a simple running bond. Herringbone interlocks under load and resists rutting far better over time. Lay each block with a firm push, not a bang, and use the rubber mallet to bed them in gently as you go.
Keep checking levels with a straightedge as you work across the area. Small errors compound quickly over a few metres.
Cut blocks for edges and around manholes last. Measure twice, cut once. If you are using an angle grinder with a diamond blade, wear eye protection and do it on a stable surface away from the new laid area.
Step 6: Compact and sand the joints
Once all blocks are laid, run the plate compactor over the entire surface. This beds everything in uniformly and removes any high spots.
Spread kiln-dried jointing sand across the surface and brush it into the joints. Run the plate compactor again to vibrate it in. Brush more sand on and repeat the process until the joints are full. Do this on a dry day. Wet kiln-dried sand clumps and will not work into the joints properly.
If you have been thinking about which surface suits your situation before committing to the full job, it is worth reading up on how block paving compares to tarmac and resin in Irish conditions, particularly if water runoff or planning considerations are a factor for you.
Keep the driveway clear of vehicles for at least 24 hours after final compaction. After the first winter you may need to top up the jointing sand in a few spots. That is normal and takes about twenty minutes.